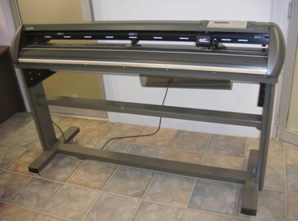
| Machine: Jaguar and RX Series Cutting Plotter Software: TintTEK 20/20 Material: Window films、 Architecture films、Protection films、Safety films |
| Window tinting is no longer a handicraft industry now. With GCC cutter’s perfect cutting quality and TintTEK 20/20, the professional window tinting plotter, both of which will make your window film cutting process more efficient and cost-effective. |
| Heat rejection films provide function of heat reduction, and also the added-values such as whitening, UV protection, and personal privacy protection. Therefore, most car owners will choose colored or light reflective heat rejection films. In traditional process of cutting heat rejection films, you need to make an acrylic mold first, and cut the appointed pattern of window films manually piece by piece. This kind of process not only waste manpower and also increase storage space required for stocking acrylic molds, and heighten the possibility of material waste. |
| Now, replacing man-made work with GCC cutter’s accurate tracking and perfect cutting quality, it not only dramatically enhances production efficiency, reduces material waste due to artificial work inaccuracy, and most importantly it saves the storage space and material for acrylic molds. Moreover, with TintTEK 20/20’s auto plotting functions, heat rejection films can be efficiently plotted and ensure materials are fully utilized. |
| For experienced master workers in auto decoration firm, using GCC cutter instead of manual cutting process can increase productivity and allow more handling of cases. For beginners who wish to enter auto decoration business, GCC cutter + TintTEK 20/20 are undoubtedly your best choice. Don’t need to worry about the technical boundary at all. GCC cutter can be applied in car window films, as well as architecture films or protective films for decoration purpose too, even car stickers. GCC cutter can perfectly cut in all these applications and expand your business to a wider extension. |
| Below you will find a step by step instruction on how to tint a window from start to finish using your GCC plotter . |
| 1. First, load you plotter with window film. Make sure the window film side is up. |
 |
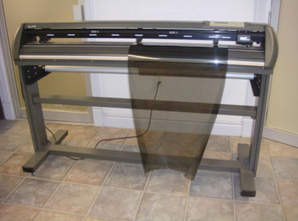
| 2. When the plotter finishes cutting, the film should look like this. |
 |
| 3. Cut film pattern off of the machine, and place on peel board to be ready for weeding. |
 |
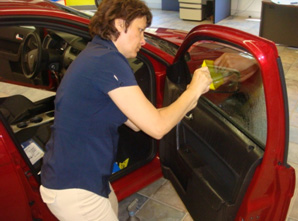
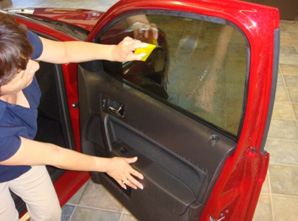
| 4. Prepare window for film installation by first spraying the window with soap water solution, then using a razer blade to scrape window, and lastly, squeegee window surface for film installation. |
 |
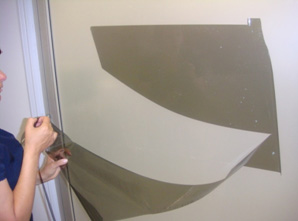
| 5. Separate release liner from window film. |
 |
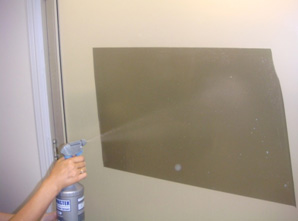
| 6. Spray the entire adhesive side of window film with soap water solution. |
 |
| 7. Remove (weed) access cut film from pattern. |
 |
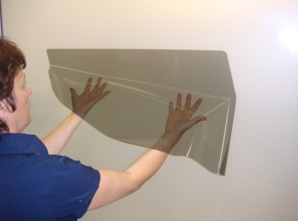
| 8. Handle the film properly and don’t touch the adhesive side. Get is ready to be installed to the inside of window.. |
 |
| 9. Install to inside of window, lining up the top edge of the film to the top of the window. |
 |
| 10. Squeegee excessive soap water solution between window film and glass. Until all water is removed. |
 |