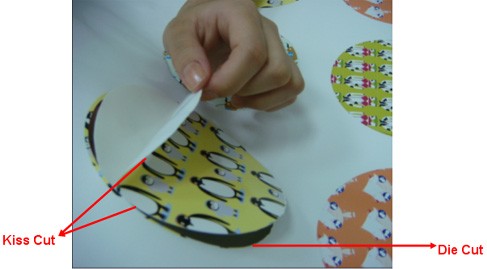
| The Die Cut function allows users to cut through the backing of the material and you can easily set up the length and force of die cut and kiss cut cutting line at the same job. This feature applies to different applications such as stickers and prototype of boxes, perfect for business owners who would like to provide customized and unique products. | 
|
||||||||||||||||||
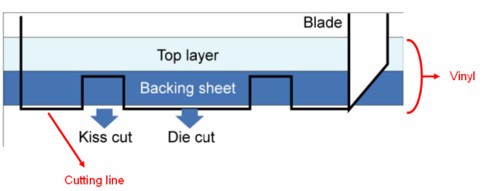 | |||||||||||||||||||
| * Die Cut cuts through the backing of the material Kiss Cut (half cut) only cuts through the vinyl but not the backing sheet You can now start creating your own personalized sticker by simply following the steps below: | |||||||||||||||||||
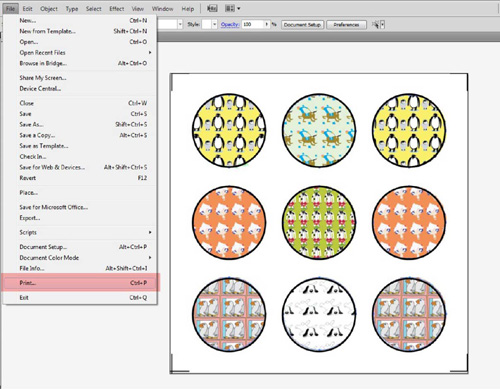
| Step 1: Create an image with a contour line and registration marks on Adobe Illustrator and then print it out. | |||||||||||||||||||
 | |||||||||||||||||||
| Step 2: Place the printed file on the cutter and position the carriage at the origin of the registration mark. Step 3: Process to the Die Cut function setting by clicking “print” under “file”. |
|||||||||||||||||||
 | |||||||||||||||||||
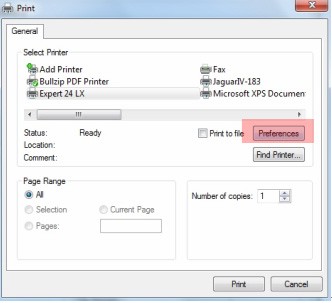
| Step 4: Select the cutter model and go to “Preferences”. | |||||||||||||||||||
 | |||||||||||||||||||
| Step 5: Go to “Option”, tick “Die Cut”, and enter the amount you wish for the “Length” and “Force” of both Die Cut and Kiss Cut, then click “OK ”. | |||||||||||||||||||
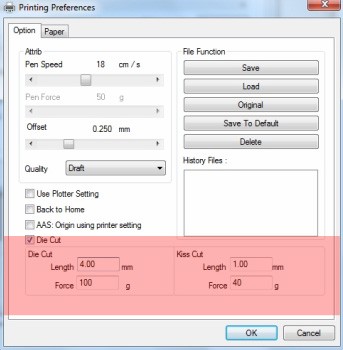 Range of length setting: Range of length setting:Die Cut: 0-2000mm Kiss Cut: 0-100mm | |||||||||||||||||||
| Step 6: Click “Print” when you go back to the General page after the Die Cut setting is completed and the cutting plotter will start working. | |||||||||||||||||||
 |
|||||||||||||||||||
 |
|||||||||||||||||||
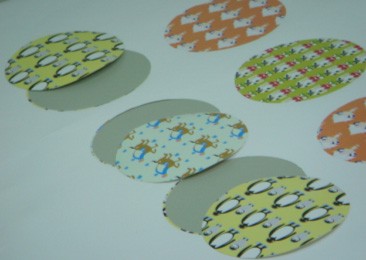
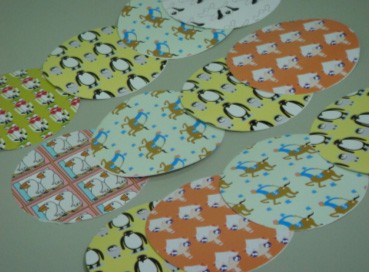
| Samples: | |||||||||||||||||||
 |
|||||||||||||||||||
 |
|||||||||||||||||||
| Reference Parameters | |||||||||||||||||||
|
|||||||||||||||||||
From:
Craft Magic Trading