| GCC
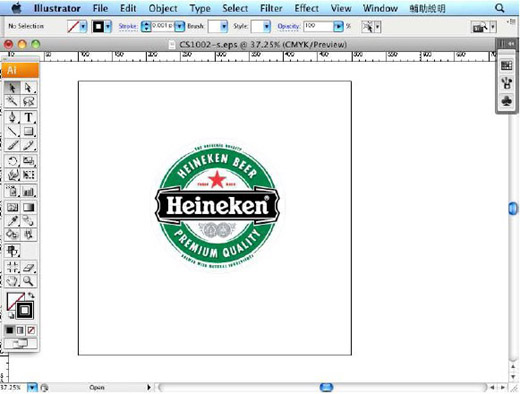
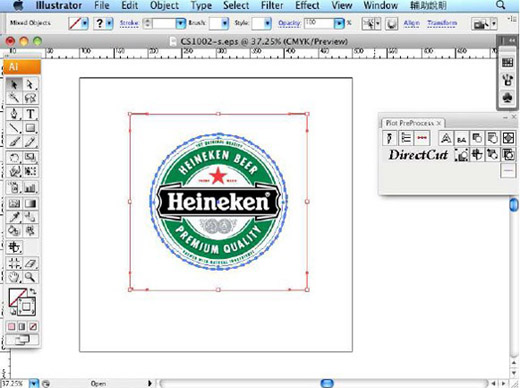
has developed an Illustrator Plugin for MAC users, who can now perform
contour cutting through MAC on GCC Cutting Plotters. Open Illustrator on your Mac and create a new image. | 
| ||||||||||||
 | |||||||||||||
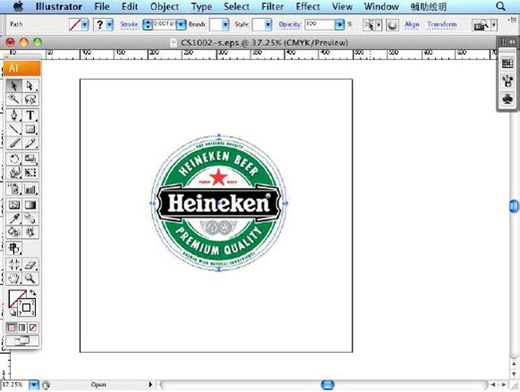
| Create two CutContour lines to distinguish the colors and jobs. | |||||||||||||
 | |||||||||||||
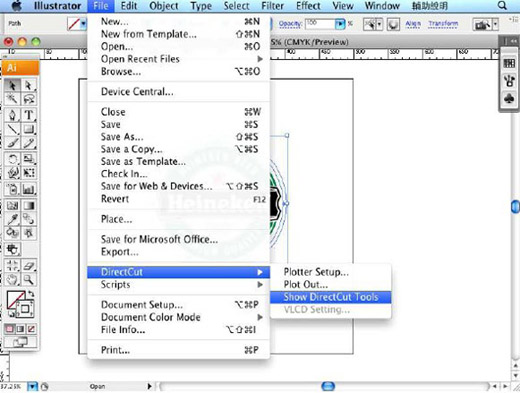
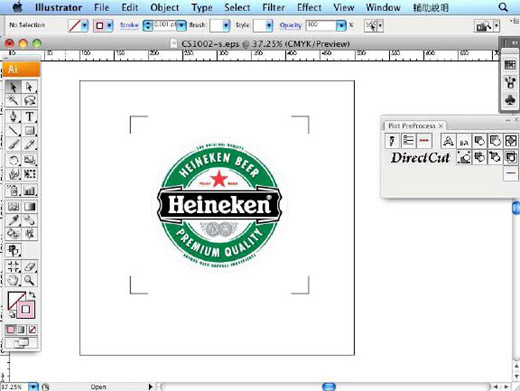
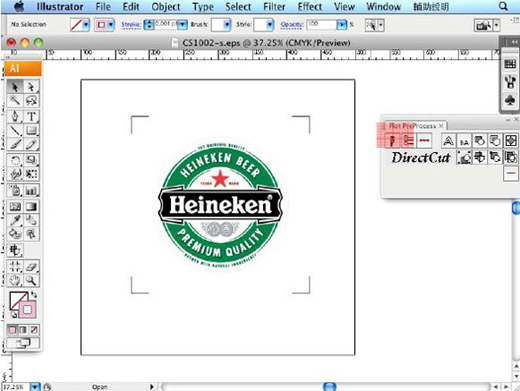
| Select "DirectCut" under "File" and go to "Show DirectCut Tools" under "DirectCut". | |||||||||||||
 | |||||||||||||
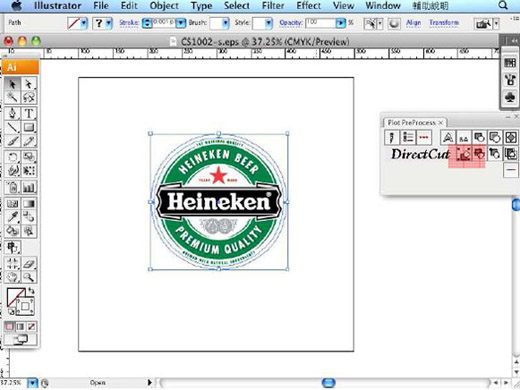
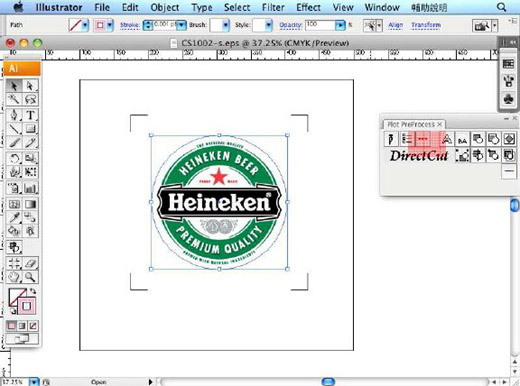
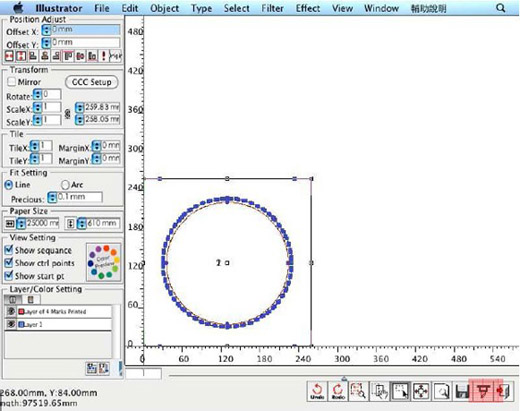
| Select the object and click the "Add registration marks" icon. | |||||||||||||
 |
|||||||||||||
| Select"4-Point Positioning" on the registration mark setting window. | |||||||||||||
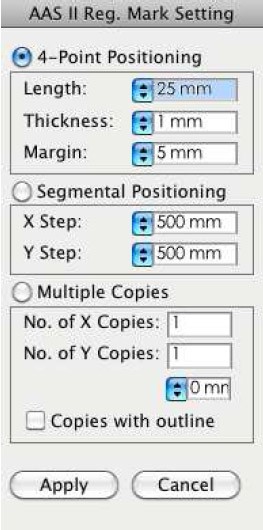 | |||||||||||||
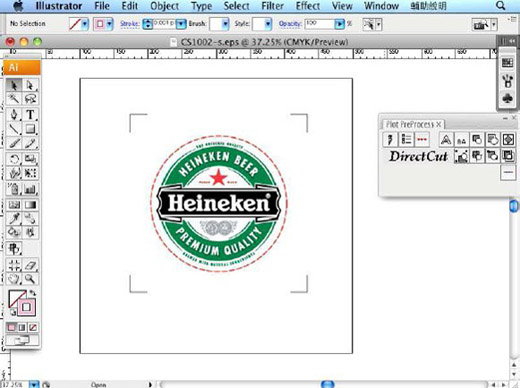
| 4 registration marks are created. | |||||||||||||
 |
|||||||||||||
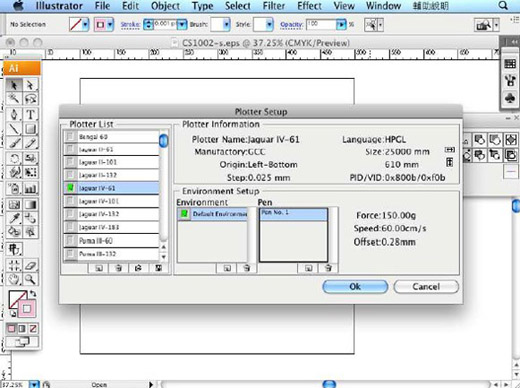
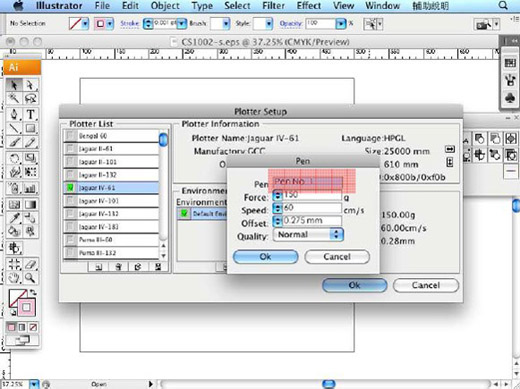
| Click on "Plotter Setup". | |||||||||||||
 | |||||||||||||
| The "Plotter Setup" window will pop up; select the correct model. | |||||||||||||
 |
|||||||||||||
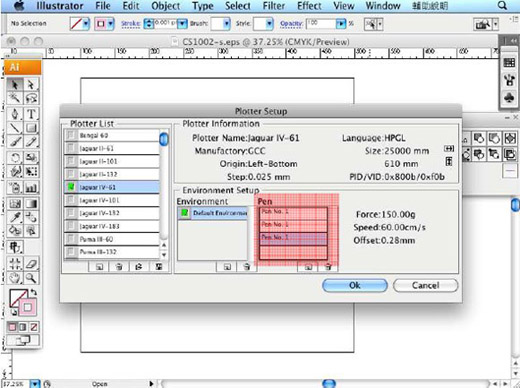
| Insert three sets of parameters in the "Pen" section within "Plotter Setup". | |||||||||||||
 |
|||||||||||||
| Pen No.1 Normally Pen No.1 is suggested to be the default cutting setting. |
|||||||||||||
 |
|||||||||||||
| Pen No.2 Set your Die cut parameters here. (Adjust your parameters based on the material you are working on) |
|||||||||||||
 |
|||||||||||||
| Pen No.3 Set your Kiss cut parameters here. (Adjust your parameters based on the material you are working on) |
|||||||||||||
 |
|||||||||||||
| Note: it is advised to set a heavier cutting force for Die Cut cutting lines and a lighter force for Kiss Cut cutting lines as Die Cut helps you to cut through the backing of the material while Kiss Cut cuts through only the top layer but not the backing. | |||||||||||||
 |
|||||||||||||
| Click on "Die Cut". | |||||||||||||
 |
|||||||||||||
| Complete the Die Cut/Kiss Cut length and Pen2/ Pen3 settings. | |||||||||||||
 |
|||||||||||||
| The Die Cut setting has been completed (the Die Cut cutting line will be red). | |||||||||||||
 |
|||||||||||||
| Select the entire object to output it. | |||||||||||||
 |
|||||||||||||
| Output the object by clicking "Export". | |||||||||||||
 |
|||||||||||||
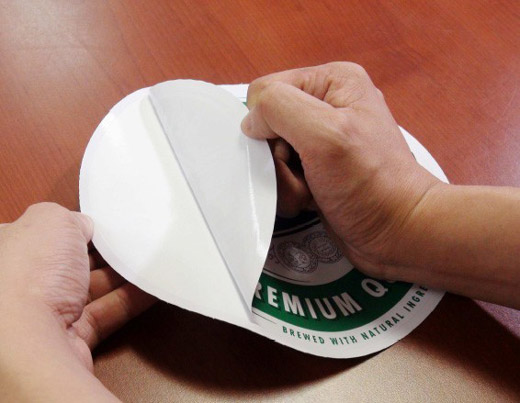
| The sample is completed | |||||||||||||
 |
|||||||||||||